When you upload images to the website they are automatically cropped and resize to fit the various display options. Sometimes you may wish to re-crop and otherwise adjust the original image. You may also wish to re-crop an image where the system hasn't cropped it in a way you like.
Editing the original image
Consider this image:
Let's say we think it's too high and want to make it more "letterbox".
Go the Edit screen for this page
... delete the image (it's usually better to remove the image and reinsert it rather than edit in place) and click Add media
From the Media library popup find the image in the library, click on it to select it, and click Edit Image
This takes you to the Edit Image screen
Click and drag across the image to set the new boundaries of the image
Click the crop button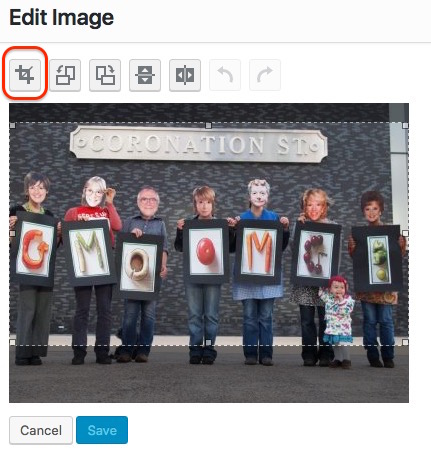
If you're happy with your new crop boundaries, click Save
... and reinsert your image
Re-cropping "featured" images
There are a number of situations on the website where the images displayed are required to be a specific size. These are:
- Slideshow slides
- Main page ad
- Secondary page ad
- Sidebar page ads
- Thumbnail images
The system automatically copies and crops images that don't fit these sizes and sometimes this doesn't work as well as it should. Here's an example:
My new Coronation Street page ad isn't displaying the street sign!
From any admin page click on Files and images in the admin side menu
Then find and click on your image in the library. In the Attachment screen click the button labelled Crop Featured Image
On the Crop Featured Images popup that appears, click on the image size that you wish to re-crop, in this case the Secondary page ad

This will load this image into the top left, and you can now adjust your cropping boundaries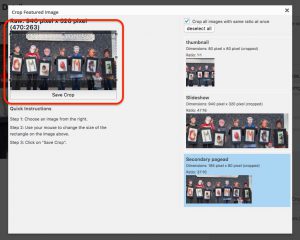
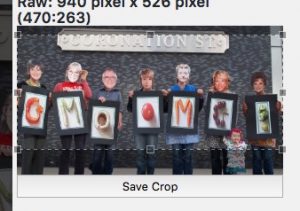 When you have your crop adjusted satisfactorily, click Save Crop
Then close the Crop Featured Images popup window

... and then the Attachment Details popup window.